Step-by-Step Guide: Secrets to Perfect Peel and Stick Flooring Installation2024-09-16T10:28:21-04:00
Installation Tips
With SafetyMat’s Peel and Stick Flooring, you can achieve a fresh look and enhanced safety in your home without the hassle of traditional flooring installations!
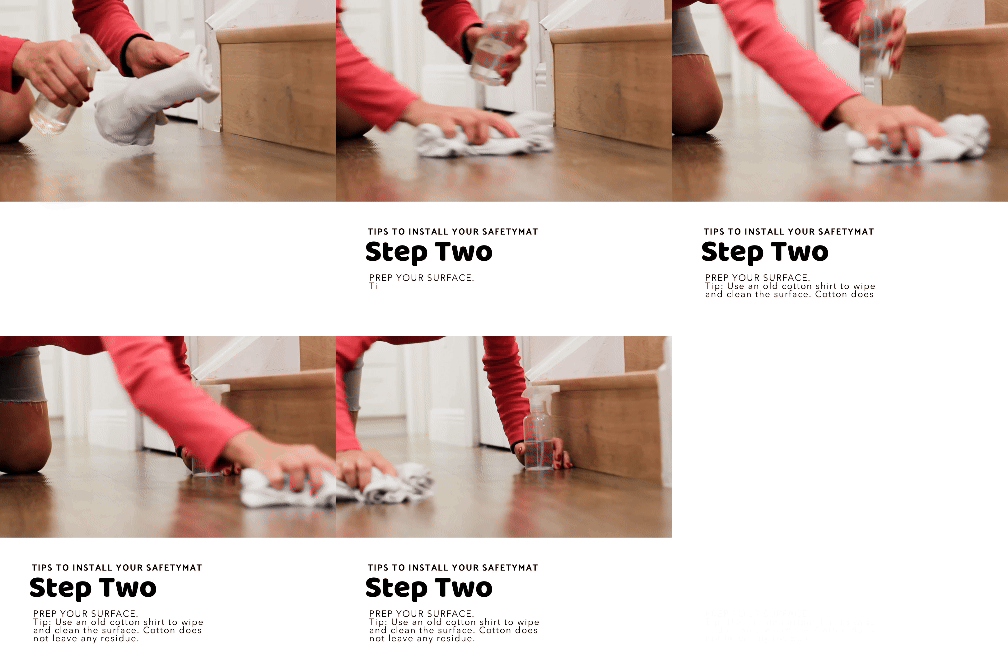
To ensure a flawless installation, start by prepping your surface. Clean it thoroughly to eliminate dust, dirt, soap residue, and grease—this creates a strong bond for the adhesive.
For optimal results, choose a biodegradable cleaner to eliminate any soap film residue and clear away debris that could hinder adhesion. Avoid using cleaning products that contain silicone or leave any residue, such as powdered cleaners. Note: It’s essential to work on a smooth surface.
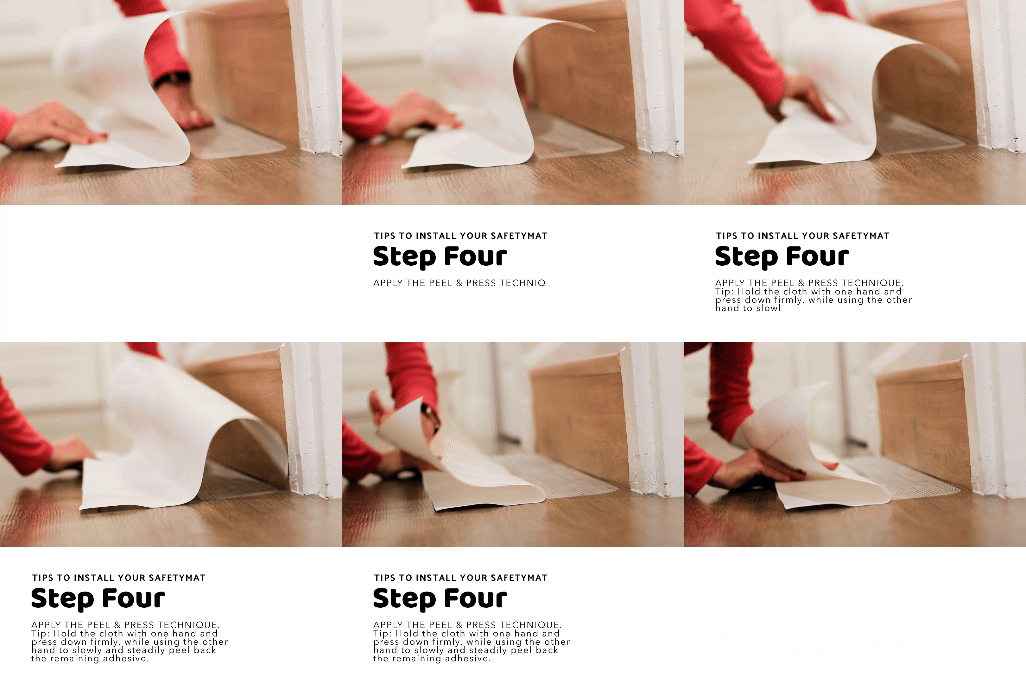
Start by washing your hands carefully. Then, take the edge of the mat and slowly peel back one to two inches of the paper backing, focusing on the side nearest to the drain. Utilize SafetyMat’s bleeding edge to prevent touching the sticky side, ensuring it stays clean.
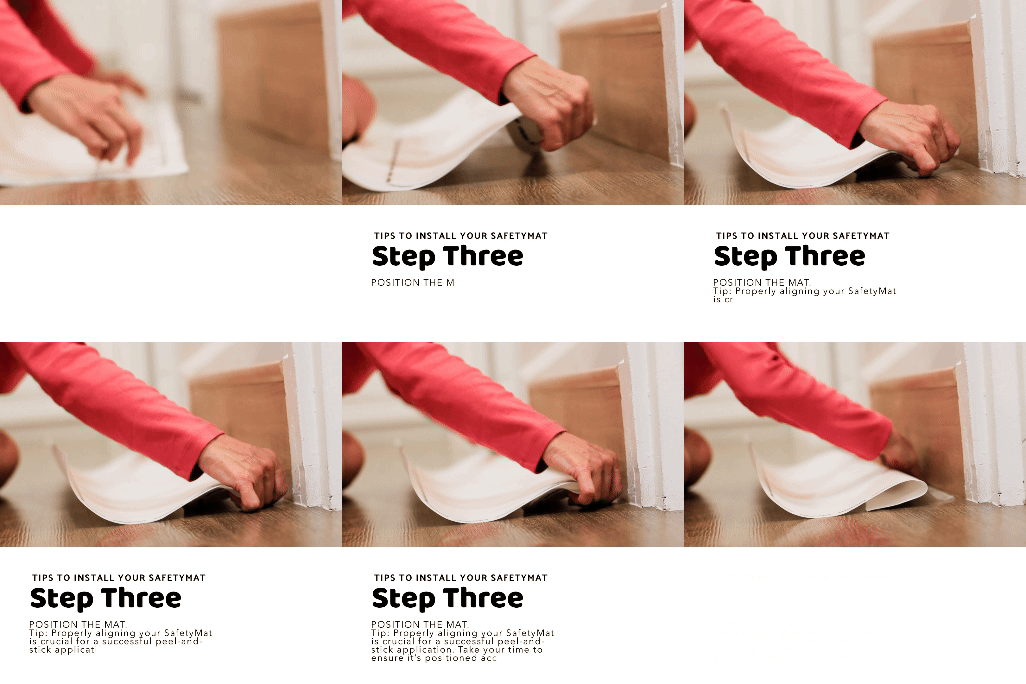
Begin by washing your hands thoroughly. Next, plan the layout. Before installation, measure your space accurately; this prevents any unexpected surprises mid-installation. Lay out your mat, roll, or planks in your desired pattern to confirm a good fit and visualize the final appearance.
Align the cut-out edge of the mat with the center of the drain. Using your hand, or if you have purchased our Safety Kit, the rubber roller, press down firmly on the exposed section of the mat or roll to ensure it adheres well to the surface.
Begin in one corner and peel back a small section of the backing. Align the flooring carefully, then press down firmly as you gradually peel away more of the backing while smoothing out any air bubbles with a roller or your hands. Voila! You’re transforming your area effortlessly and enjoying that stylish, safe space in no time.
With the exposed area secured, gently pull away the creased paper backing while continuing to press down on the exposed section with your hand or roller. Use the roller to press firmly and eliminate any air bubbles for a smooth finish. Start from the middle and work your way out to ensure the vinyl sticks properly to the surface. Once everything is in place, your floor or bath mat is ready to use—no waiting time required!
To maintain your mat and extend its lifespan, regular cleaning is essential. Use a stiff-bristled scrub brush along with a commercial tub and tile cleaner designed to effectively tackle soap scum and body oils.
With SafetyMat’s self-adhesive vinyl flooring, you can easily enhance your space, making it stylish, safe, and practical. Whether it’s a DIY project or a seasonal refresh, you’ll love the transformation!
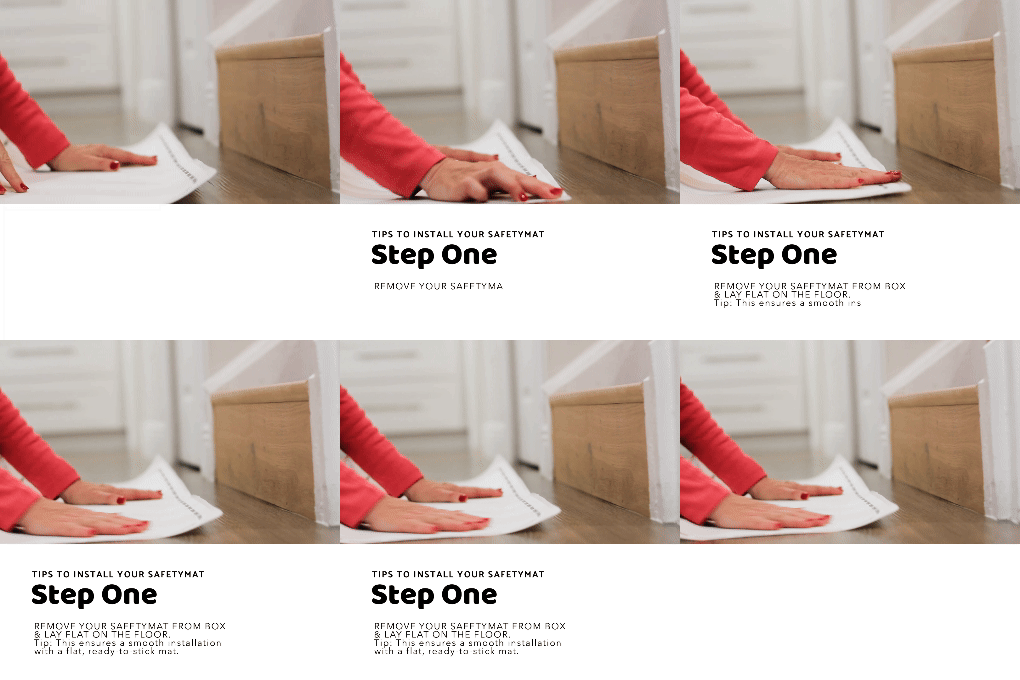
SafetyMat’s self-adhesive flooring comes in convenient sizes—mats, sheets, or rolls—that can be effortlessly peeled and stuck down. No special tools or additional adhesives are required, making it ideal for DIY enthusiasts or anyone wanting to refresh their floors without professional help.
Say goodbye to messy glue and long drying times! The self-adhesive backing allows for a quick and clean installation—just peel, stick, and enjoy your new mat or flooring immediately.
For those looking for a unique touch, SafetyMat allows you to upload your own photos or designs, or choose specific colors, providing a completely customizable flooring solution that reflects your personal style.
Our self-adhesive vinyl flooring comes in a wide range of designs, colors, and textures, allowing you to find the perfect match for your home decor. Whether you prefer wood, stone, or abstract patterns, there’s something for everyone.
With quick installation, you can transform a room in no time, making it perfect for home makeovers or seasonal updates.
Built to withstand everyday wear and tear, our self-adhesive vinyl flooring and peel and stick mats are both practical and stylish, making it suitable for any room in your home.