How to Remove Floor Adhesive Without Damage
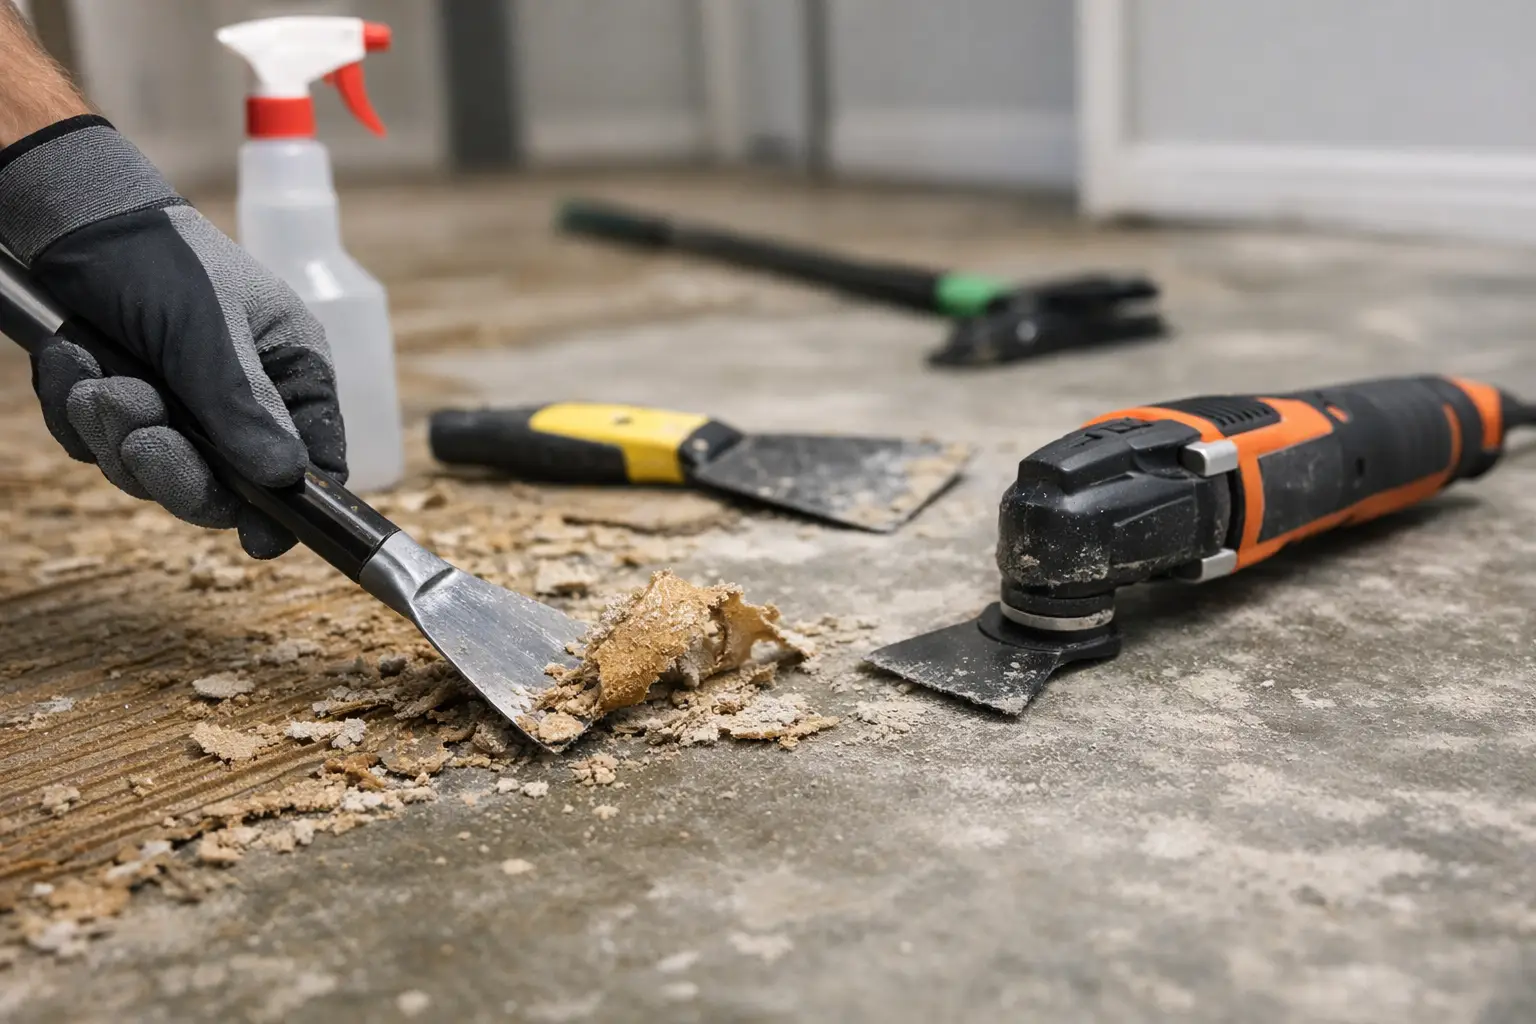
A floor can look clean until leftover glue catches a sock, shows through new vinyl, or keeps a peel-and-stick safety mat from bonding evenly. Knowing how to remove floor adhesive starts with one goal: remove the residue without creating a bigger problem underneath. The right method depends on both the adhesive and the surface, especially in moisture-prone rooms such as bathrooms, showers, kitchens, and laundry areas.
A little patience matters here. Scraping too aggressively can gouge vinyl, dull tile, or damage a wood finish. Using the wrong solvent can soften flooring or leave an oily film that prevents your next surface treatment from sticking properly. Start gently, test a small hidden area, and increase your approach only when needed.
Identify the Adhesive and the Floor Below
Before reaching for a scraper or adhesive remover, take a close look at what you are working with. Pressure-sensitive adhesive from peel-and-stick tiles, labels, mats, or tape often feels tacky or rubbery. It may soften with warmth or a small amount of adhesive remover.
Construction adhesive is usually thicker, harder, and more stubborn. You may see ridges, beads, or hard patches left behind after removing a floor covering. Mastic, commonly found beneath older flooring, can look tan, brown, or black and may feel brittle or tar-like.
The floor surface is just as important. Ceramic tile and sealed concrete can usually handle more scraping and moisture than wood, laminate, or sheet vinyl. Hardwood and laminate need a much lighter touch because water and harsh solvents can seep into seams, discolor the finish, or cause swelling.
If you uncover black adhesive beneath old vinyl flooring or tile, stop before sanding, grinding, or scraping it dry. Some older materials may contain asbestos. Keep the area undisturbed and contact a qualified professional or arrange appropriate testing before continuing.
Gather Simple Tools Before You Start
Most adhesive removal jobs do not require a contractor, but they do require the right tools. A plastic putty knife or plastic floor scraper is the safest place to begin. Keep clean cloths, warm water, mild dish soap, a bucket, gloves, and a non-abrasive scrub pad nearby.
For tougher residue, use a flooring-safe adhesive remover that is labeled for your particular surface. You may also need a spray bottle, a hair dryer for gentle heat, and paper towels or absorbent rags. Open windows and run ventilation when using any commercial remover, even one marketed as low odor.
Avoid metal blades on soft vinyl, finished wood, laminate, or fiberglass surfaces. A razor blade may seem faster, but one slip can leave a permanent scratch that is far more noticeable than the glue itself.
How to Remove Floor Adhesive Step by Step
Start with dry, gentle scraping
Begin by lifting the thickest areas of adhesive with a plastic scraper held at a low angle. Work slowly, pushing away from your body. The goal is to slide under the adhesive, not dig into the flooring.
For wide areas, scrape in short sections rather than trying to clear the whole room at once. Vacuum or sweep up loosened pieces as you go. This makes it easier to see where adhesive remains and prevents debris from being ground into the floor.
Soften residue with warmth or mild cleaning
For light, sticky residue on tile or sealed concrete, place a warm, damp cloth over the area for several minutes. Then wipe with warm water and a few drops of dish soap. The moisture can loosen water-based adhesives enough for a plastic scraper or scrub pad to finish the job.
A hair dryer on a low or medium setting can also soften adhesive from tape, mats, or peel-and-stick products. Hold it several inches away and keep it moving. Do not overheat one spot, particularly on vinyl flooring, which can warp or become discolored under concentrated heat.
Never soak hardwood, laminate, or unsealed concrete. Instead, apply moisture sparingly to a cloth, wipe a small area, and dry it immediately.
Use an adhesive remover only where needed
When soap and warmth are not enough, apply a small amount of flooring-safe adhesive remover to a hidden test spot first. Give it the dwell time listed on the label. Rushing this step often leads to unnecessary scraping, while allowing the product to work can make residue release much more easily.
Use a cloth or paper towel to apply the remover rather than pouring it directly onto the floor. This gives you better control and keeps liquid from settling into seams or grout lines. Once the adhesive softens, lift it with a plastic scraper and wipe the area clean.
Work in small sections. Adhesive remover that dries on the surface can leave behind its own residue, particularly on textured flooring. Keep fresh cloths on hand and change them when they become gummy.
Wash away the final film
After the glue is gone, clean the floor with a mild soap-and-water solution appropriate for the surface. This step removes traces of adhesive remover, oils, and fine debris that could interfere with new flooring, paint, caulk, or peel-and-stick products.
Wipe the floor once more with clean water if the manufacturer of your remover recommends it. Then dry it thoroughly with a lint-free towel. A floor may feel dry on top while moisture remains in grout, seams, or textured areas, so allow extra air-drying time before installing anything adhesive-backed.
Choose the Method That Fits Your Surface
Tile and sealed concrete
Tile and sealed concrete are generally the most forgiving surfaces. Start with warm soapy water for light residue, then move to a compatible adhesive remover if needed. A plastic scraper is still the best first tool because it protects the tile glaze and helps prevent chipped grout.
On textured tile, use a non-abrasive scrub pad or stiff nylon brush after softening the adhesive. Rinse thoroughly so the texture does not hold onto cleaner or loosened glue. This is especially useful in bathrooms and entryways, where residue can affect traction.
Vinyl and linoleum
Vinyl flooring can scratch, stain, or soften more easily than tile. Skip abrasive pads, harsh solvents, and metal blades. Use gentle heat, mild soap, and a manufacturer-approved adhesive remover in small amounts.
If an adhesive remover causes the vinyl to feel soft, look dull, or change color during your test, stop using it. Let the area dry completely and switch to a gentler method. Preserving the wear layer matters more than removing every trace in one pass.
Hardwood, engineered wood, and laminate
Keep moisture to a minimum on wood and laminate floors. Use a nearly dry cloth, a plastic scraper, and a wood-safe cleaner or adhesive remover only after testing it in an inconspicuous spot. Wipe promptly and dry immediately.
For finished hardwood, rubbing lightly with a cloth can be safer than scraping. If adhesive has soaked into bare wood or a damaged finish, professional refinishing may be the better option. Aggressive solvent use can spread the stain deeper into the grain.
Mistakes That Make Adhesive Removal Harder
The most common mistake is choosing the strongest chemical first. Powerful solvents may remove glue quickly, but they can also damage finishes, create fumes, or leave a film that affects future adhesion. Start mild and work up only when the surface can tolerate it.
Another mistake is sanding adhesive residue before confirming what it is. Sanding can heat and smear glue, clog sanding discs, and create dust from older materials that should not be disturbed. Mechanical removal and appropriate softening are usually safer first steps.
Do not cover leftover residue with a new mat, tile, or vinyl sheet just because it feels mostly flat. Uneven adhesive can telegraph through thin materials, create raised edges, and weaken the bond over time. In wet spaces, those edges can collect moisture and become harder to clean.
Prepare the Floor for a Safer Finish
Once the adhesive is gone, run your hand over the dry floor. It should feel smooth, clean, and free of tackiness. Check corners, grout lines, and textured sections carefully, since these are the places where residue often remains.
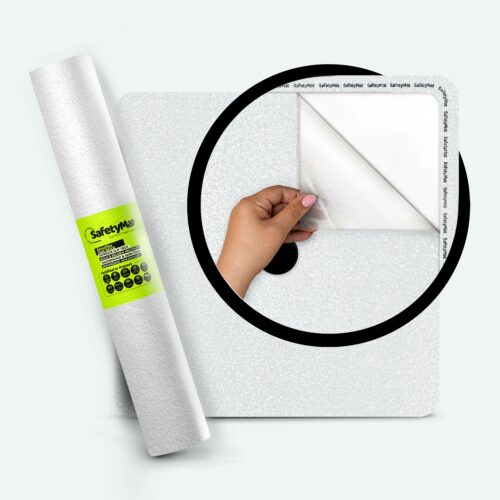
For a peel-and-stick safety surface, the floor must be completely dry and free from dust, wax, soap film, oil, and cleaner residue. A careful prep step helps the product lay flat and stay secure, without bulky edges or loose corners that can become trip hazards.
Whether you are refreshing a bathroom floor, improving a slick shower area, or preparing for a new SafetyMat surface, the cleanest installation begins with a clean foundation. Take the extra time to remove the old adhesive properly, then give the floor time to dry before you peel, stick, and protect.