How to Cover a Bathroom Floor Without Replacing the Tile
Table of contents
- How to Cover a Bathroom Floor Without Replacing the Tile
- Yes—but the best covering depends on the floor, moisture, traffic, and your goal.
- Six ways to cover or refresh an existing bathroom floor
- When a targeted surface covering makes sense
- A practical decision process
- Bathroom floor covering FAQ
- Cover the problem area—not the decision-making details.
COVER, PROTECT & TRANSFORM
How to Cover a Bathroom Floor Without Replacing the Tile
You may not need demolition to improve an old, unattractive, or slippery bathroom floor. Compare paint, coatings, peel-and-stick tiles, sheet coverings, rugs, and targeted SafetyMat® coverage before choosing the right approach for your surface.
Yes—but the best covering depends on the floor, moisture, traffic, and your goal.
Cosmetic refreshes, full flooring systems, loose coverings, and adhesive safety surfaces solve different problems. Inspect the tile and grout first; repair active moisture, movement, damage, or mold before covering anything.
Six ways to cover or refresh an existing bathroom floor
No option is best for every bathroom. Compare the job each one is designed to do.
When a targeted surface covering makes sense
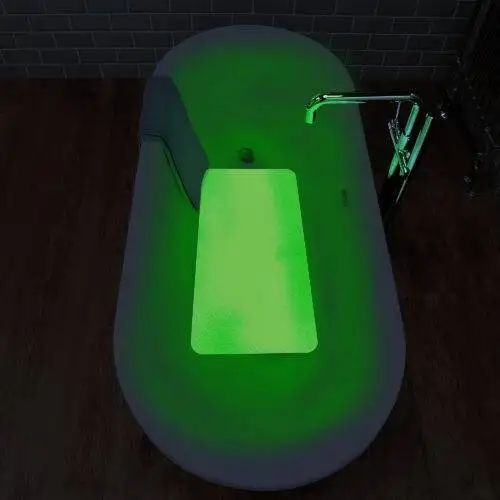
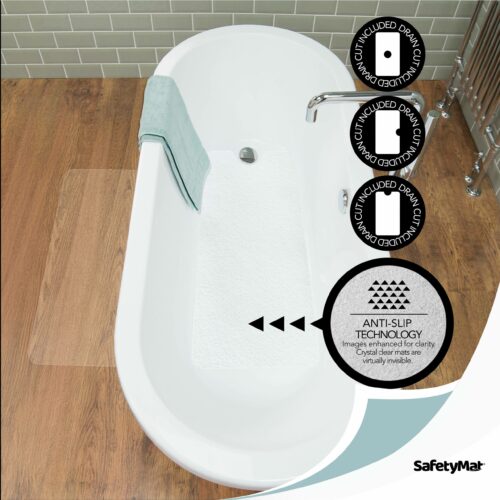
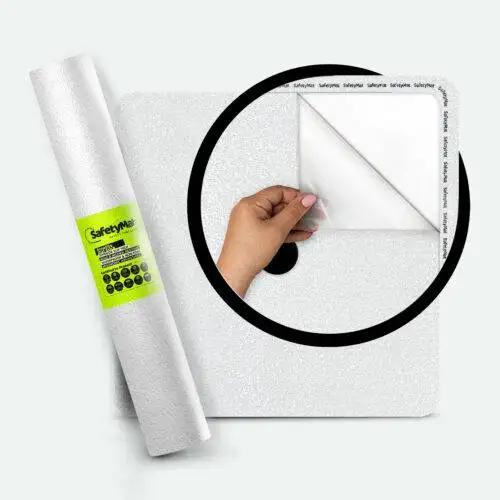
SafetyMat is not a substitute for structural repair, waterproofing below the finished floor, or a complete flooring system. It can be considered when the existing surface is sound and the objective is to cover a defined area while adding a slip-resistant walking surface.
Check before covering
Do not cover loose tile, active leaks, trapped moisture, mold, crumbling grout, major height changes, uneven surfaces, or a floor that needs structural repair. Adhesion and later removal depend on the substrate, finish, preparation, installation, exposure, and time in service. Test a small area when surface response is uncertain.
A practical decision process
1. Diagnose
Separate cosmetic dissatisfaction from water, movement, damage, and safety problems.
2. Define the area
Measure the exact coverage area, transitions, fixtures, drains, grout lines, and door clearance.
3. Compare tradeoffs
Consider seams, downtime, preparation, cleaning, traction, appearance, permanence, and future removal.
4. Confirm fit
Match the selected product and SafetyMat grade to the substrate, exposure, traffic, and installation instructions.