Master the Art of Installing Your Safety Mat: A Step-by-Step Guide to Vinyl Flooring Installation

Have you ever found yourself worried about slipping on a wet floor? I have—last summer, while hosting a barbecue, a minor mishap led to an unexpected splash, making me realize how crucial safety mats are. In this guide, I’ll walk you through the simple yet effective steps to install your very own safety mat, giving you peace of mind and adding a touch of style to your space.
Why a Safety Mat?
When we think about safety in our homes, one area often overlooked is the floor. Have you ever slipped on a wet surface? It’s a scary moment. That’s where a safety mat comes in. These mats are designed to reduce the risk of slips and falls, making them an essential addition to any active household.
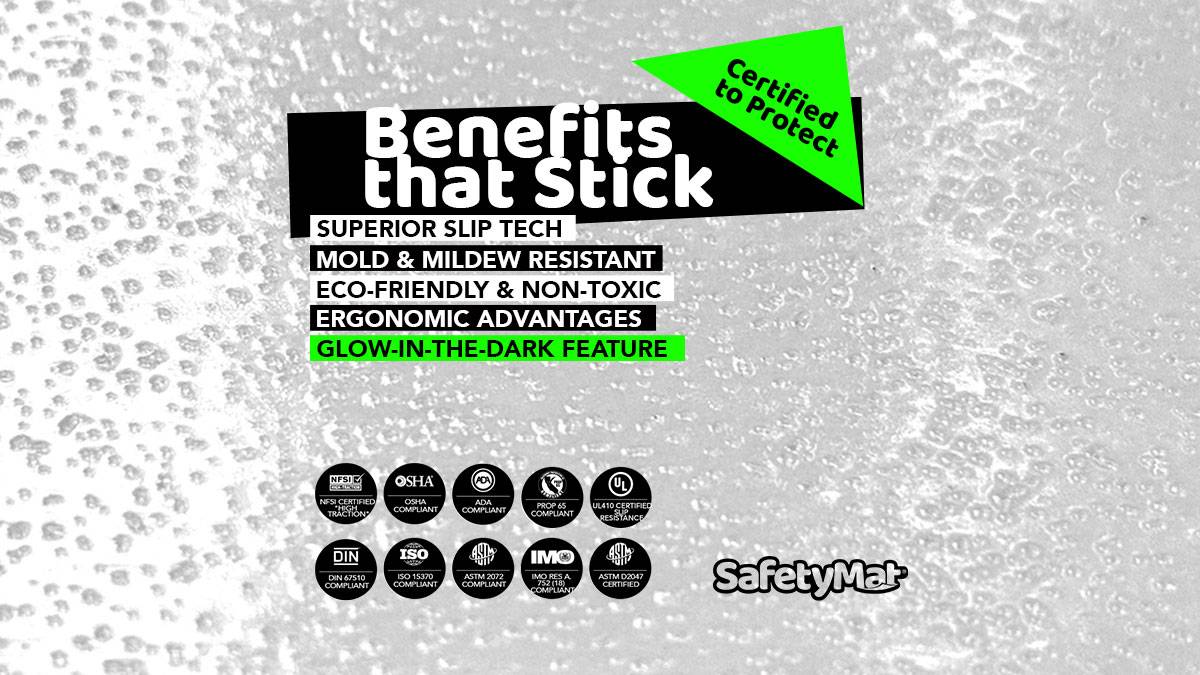
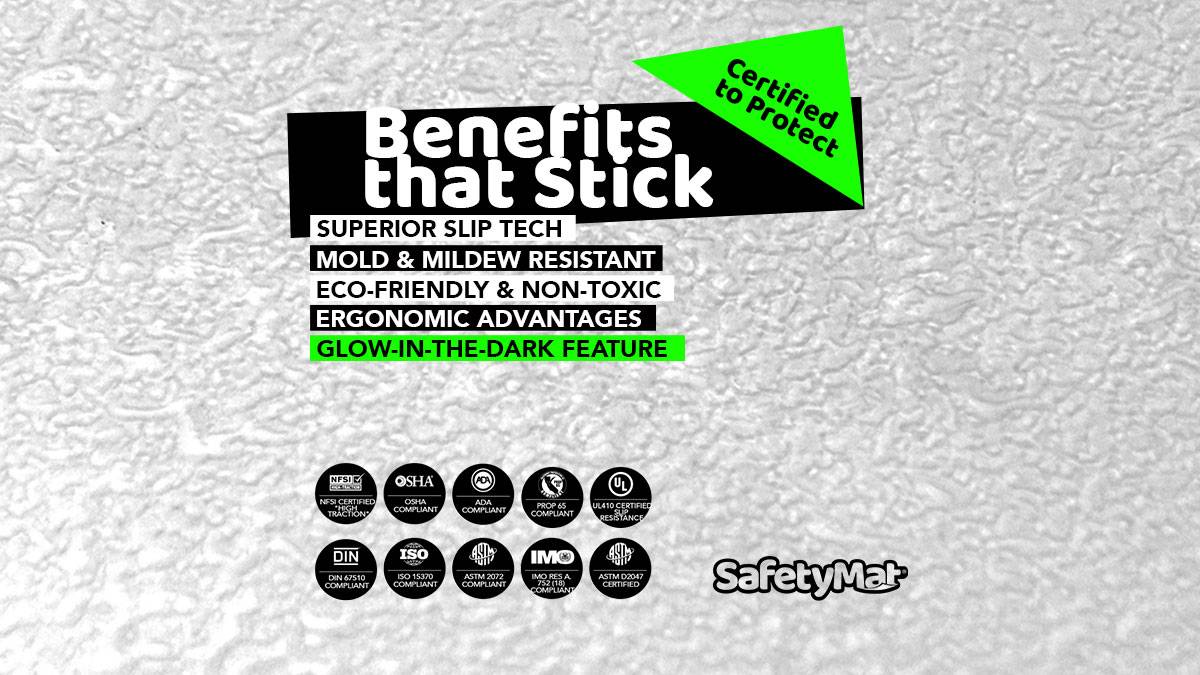
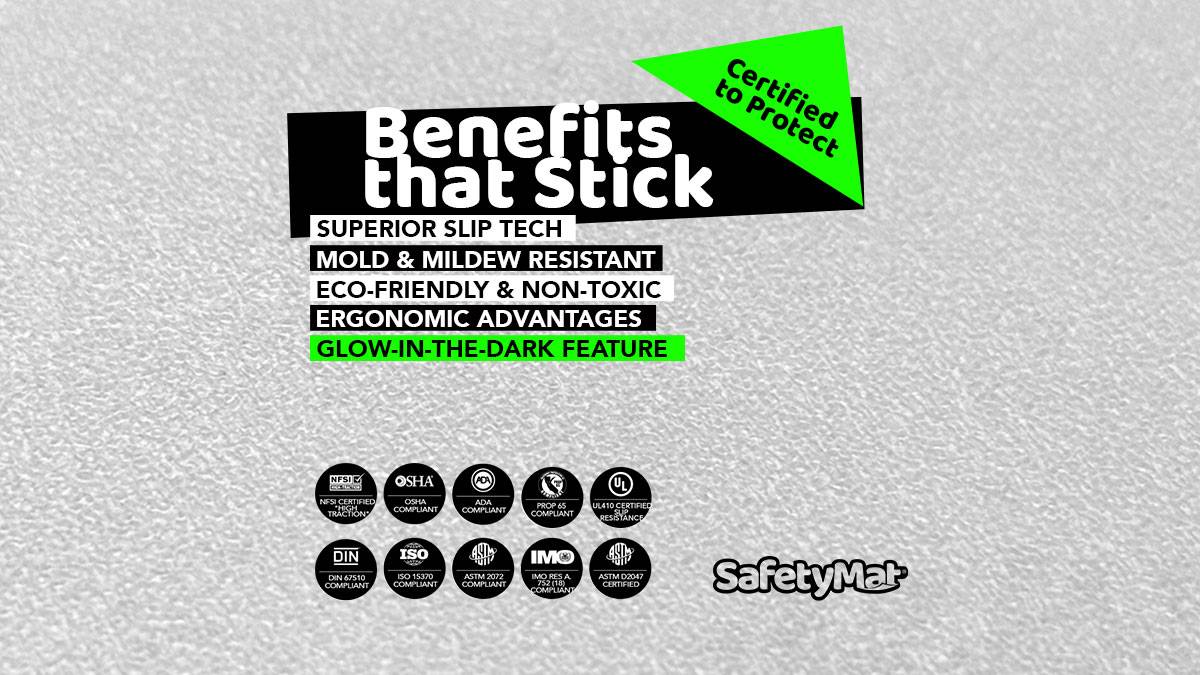
Benefits of Using a Safety Mat
- Slip Resistance: Safety mats provide a non-slip surface that helps prevent accidents.
- Easy to Clean: Most mats are made from materials that can be easily wiped down or washed.
- Durability: They are designed to withstand heavy foot traffic and last for years.
Imagine a mat that not only keeps you safe but also looks good. Yes, it’s possible!
“Safety mats are more than just functional; they can enhance your home’s beauty too!”
Enhancing Safety in Homes with Children and Pets
If you have kids or pets, safety mats are a must. Children are naturally curious and often run around, increasing the risk of falls. Pets, especially puppies, can be clumsy. A safety mat provides a cushion that can soften falls. It’s like a safety net for your little ones!
Think about it: how many times have you had to rush to catch a child or a pet before they slipped? With a safety mat in place, you can reduce that worry. It’s peace of mind, knowing that your home is a safer place.
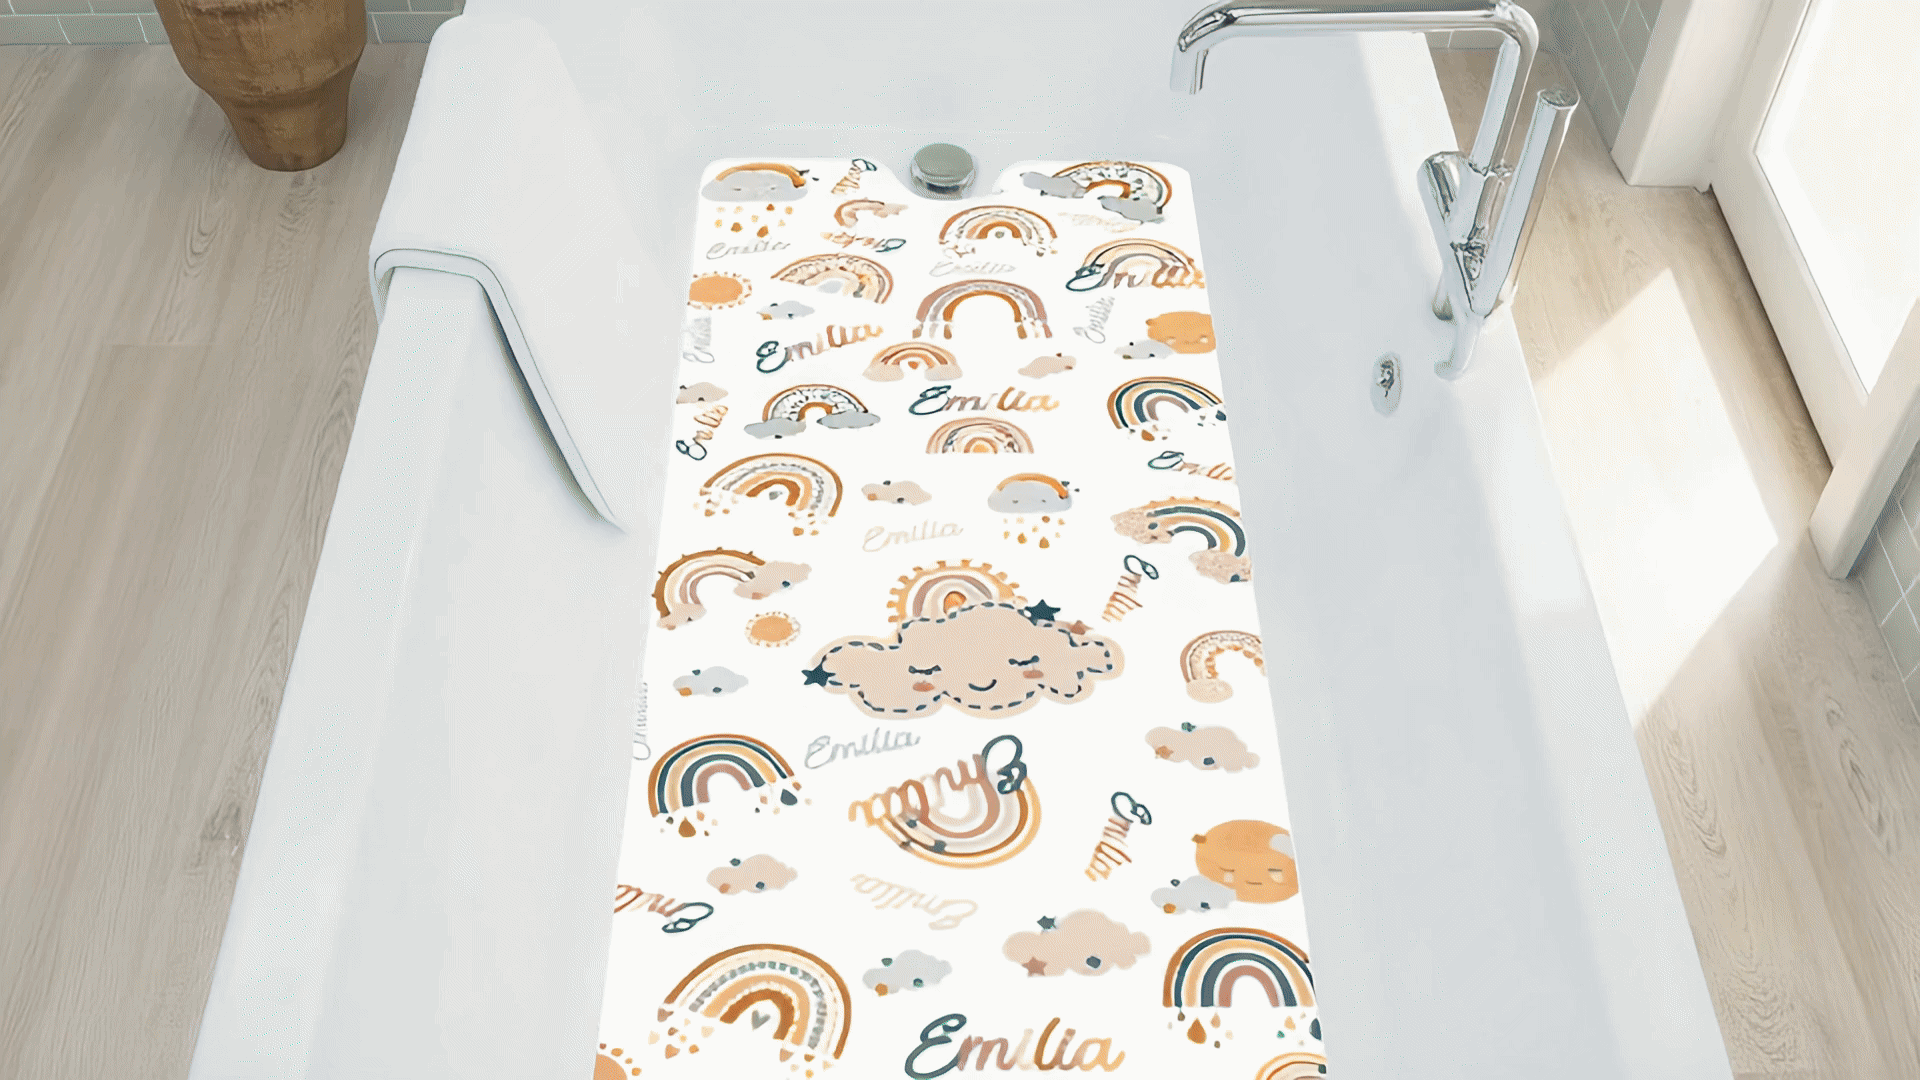
Aesthetic Appeal of Modern Safety Mats
Gone are the days of boring, utilitarian mats. Today’s safety mats come in various designs, colors, and patterns. You can find mats that blend seamlessly with your home decor. Whether you prefer a sleek modern look or something more colorful, there’s a safety mat for you.
When I chose a mat for my home, I was surprised at how many options were available. I found one that matched my kitchen perfectly. It not only protects my family but also adds a stylish touch. It’s amazing how something so simple can enhance the overall look of a room.
In conclusion, safety mats are essential for anyone looking to improve their home environment. They offer numerous benefits, from preventing slips to enhancing decor. So, if you haven’t considered adding a safety mat to your space yet, now is the time!
Preparing for Your Vinyl Flooring Installation
When it comes to installing your Safety Mat, the good news is: no tools are needed! That’s right. You don’t need a toolbox or special gadgets. Just a little preparation and you’re ready to go. But what should you keep in mind before diving into the installation?
1. What Tools Are Needed (or Not Needed)?
Zero tools required! Yes, you heard that correctly. The installation process is designed to be straightforward. All you need is your Safety Mat and a clean surface. If you have a measuring tape, it can help ensure the mat fits perfectly in your desired area, but it’s not essential.
2. Tips for Selecting the Right Surface for Your Mat
Choosing the right surface is crucial. Here are some tips:
- Flat and Smooth: Ensure the surface is flat. Uneven surfaces can lead to improper adhesion.
- Dry: Moisture can prevent the mat from sticking properly. Make sure the area is completely dry.
- Clean: A clean surface ensures maximum adhesion. Dirt or grime can interfere with the sticky backing of the mat.
Think of it this way: if you were trying to tape something on a dirty window, would it stick? Probably not! The same principle applies here.
3. How to Clean Your Floor Effectively
Cleaning your floor doesn’t have to be a chore. Here’s how I do it:
- Gather Supplies: Use a clean, lint-free cloth. An old cotton shirt works wonders!
- Dust First: Wipe away any dust or debris. This step is key to ensuring a smooth surface.
- Use Water: Lightly dampen your cloth with water. Avoid soap, as it can leave a residue.
- Wipe Down: Go over the area where you’ll place the mat. Make sure it’s spotless.
Remember, a clean surface is essential for a successful installation. It sets the stage for a flawless mat application.
Once your floor is clean and dry, you’re all set to install your Safety Mat. Preparation is everything. When you take these steps, you’ll ensure that your mat adheres properly and looks great in your space. So, let’s get started!
Step-by-Step vinyl Flooring Installation Process
Installing your Safety Mat is a breeze. Let’s walk through the process together. We’ll break it down into simple steps, ensuring that you understand each part clearly. Ready? Let’s dive in!
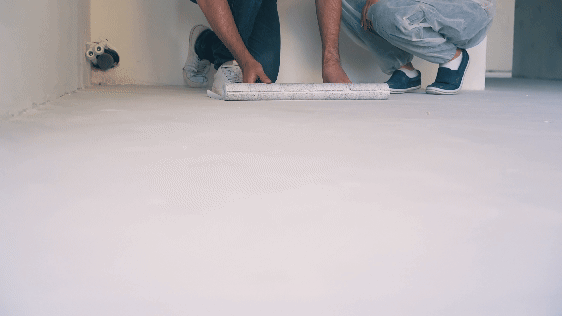
1. Removing the Mat from the Box
First things first: unbox the mat. Carefully take it out and lay it flat on the floor. This step is crucial. Why? Because a flat mat makes for a smooth installation. If it’s crumpled or bent, it could lead to problems later. So, take your time here.
2. Positioning the Mat Correctly
Now, let’s get to positioning the mat. Place it in the desired area and check to see if it fits well. It’s like trying on shoes; you want them to fit just right. If it’s too big or too small, adjust as needed. Remember, aligning the edges correctly is key. A well-placed mat not only looks good but also enhances safety.
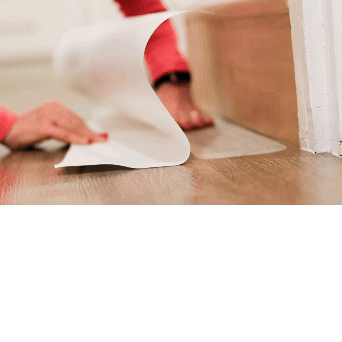
3. The Peel and Press Technique
Here comes the fun part: the peel and press technique. Start by peeling back about an inch or two of the adhesive backing. This initial step is vital. Think of it like starting a race; a strong start sets the tone for the rest. Align this edge with your starting point. Once you have that in place, it’s time to press.
With one hand, press down firmly while using the other hand to slowly peel back the remaining adhesive. This method helps avoid pesky air bubbles. If you do see any bubbles, don’t panic! Just unpeel the mat slightly, reposition it, and continue. Remember,
Peel it like a pro! Alignment is everything!
4. Final Touches
Once the mat is fully installed, take a moment to smooth it out. Press from the center outwards to eliminate any air bubbles or creases. This final touch ensures a neat finish. It’s all about that perfect look!
Following these steps ensures the mat lays perfectly flat, enhancing safety. You’ll be amazed at how easy it is to transform your space. Enjoy the safety and style that your new mat brings!
Finishing Touches and Enjoying Your Space
After installing your Safety Mat, it’s time to focus on the finishing touches. This step is crucial because it ensures that your mat not only looks great but also functions effectively. Let’s dive into some essential tips!
Smoothing Out Air Bubbles
One of the most common issues during installation is air bubbles. They can be pesky little things that ruin an otherwise perfect finish. To avoid slippage and ensure safety, it’s important to smooth these out. Here’s how I do it:
- Start from the center of the mat and work your way outwards.
- Use your hands and cloth to press down firmly, pushing any air bubbles towards the edges.
- If you find a stubborn bubble, don’t panic! Simply peel back the mat slightly and reapply it.
Remember, a smooth finish makes all the difference!
The Importance of a Solid Finish
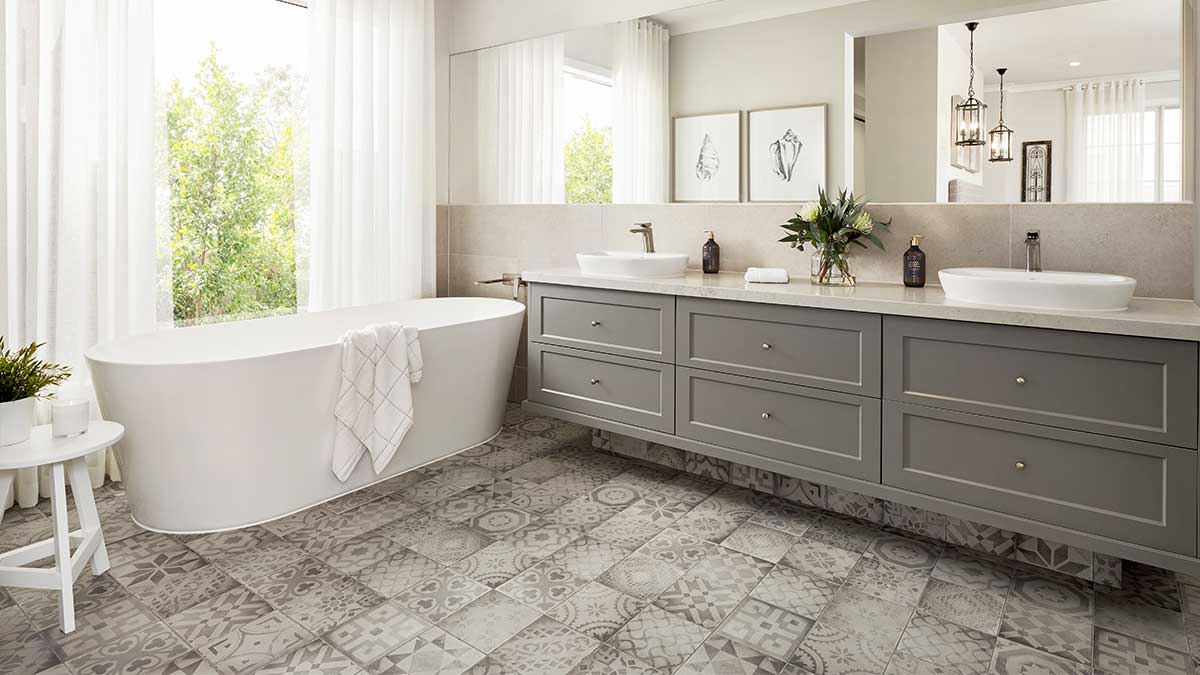
Why is a solid finish so important? Well, it’s simple. A well-finished mat provides a safe and enhances the overall look of your space. A neat and tidy appearance makes any area feel more inviting. Whether it’s your bathroom, kitchen, or entryway, a well-installed Safety Mat adds a touch of style.
Real-Life Benefits of a Safe Environment
When we think about safety, it’s often in terms of accidents or injuries. But the benefits go beyond just preventing falls. Here are some real-life advantages:
- Peace of Mind: Knowing your mat is secure allows you to relax and enjoy your space.
- Enhanced Comfort: A slip-free surface means you can move around freely, whether you’re cooking or playing with kids.
- Style and Function: You don’t have to sacrifice aesthetics for safety. Your SafetyMat looks great while keeping you safe!
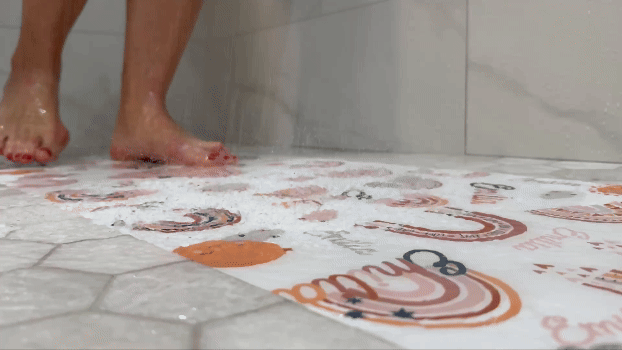
Take pride in your handiwork and enjoy a slip-free environment! With these finishing touches, you can be confident that your Safety Mat will serve you well. So go ahead, step on it, splash around, and relish the beauty and safety it brings to your space.

Conclusion: The Importance of Safety Mats
As we wrap up this discussion, let’s take a moment to recap the significant safety benefits that safety mats offer. These mats are not just a luxury; they are essential for preventing slips, trips, and falls. Whether in a home, a gym, or a workplace, having safety mats in place can dramatically reduce the risk of accidents. Imagine how many injuries could be avoided with just a simple addition to your space!
I encourage you to take action. Don’t wait for an accident to happen before you consider improving safety. It’s often the small changes that lead to the most profound effects. By investing a little time into safety measures, you can save yourself or someone else from serious accidents later. Think about it: how much is peace of mind worth to you?
Now, you might be wondering where to find quality safety mats. There are numerous options available online at safetymat.com They are built to last and come in various styles and sizes to fit your needs. You can easily find mats that not only enhance safety but also add a touch of style to your space.
To sum it all up, safety mats are a simple yet effective way to enhance your environment. They protect against slips and falls, providing a safer space for you and your loved ones. Remember, taking the initiative to implement safety measures today can prevent accidents tomorrow. So, let’s prioritize safety together!
“Investing a little time into safety can save serious accidents later.”
TL;DR: Installing a safety mat is easy! Follow these six simple steps to enhance safety in your home and protect against slips. You’ll create a stylish and secure environment in no time!